Upcycling an Old Dresser: Step by Step Guide
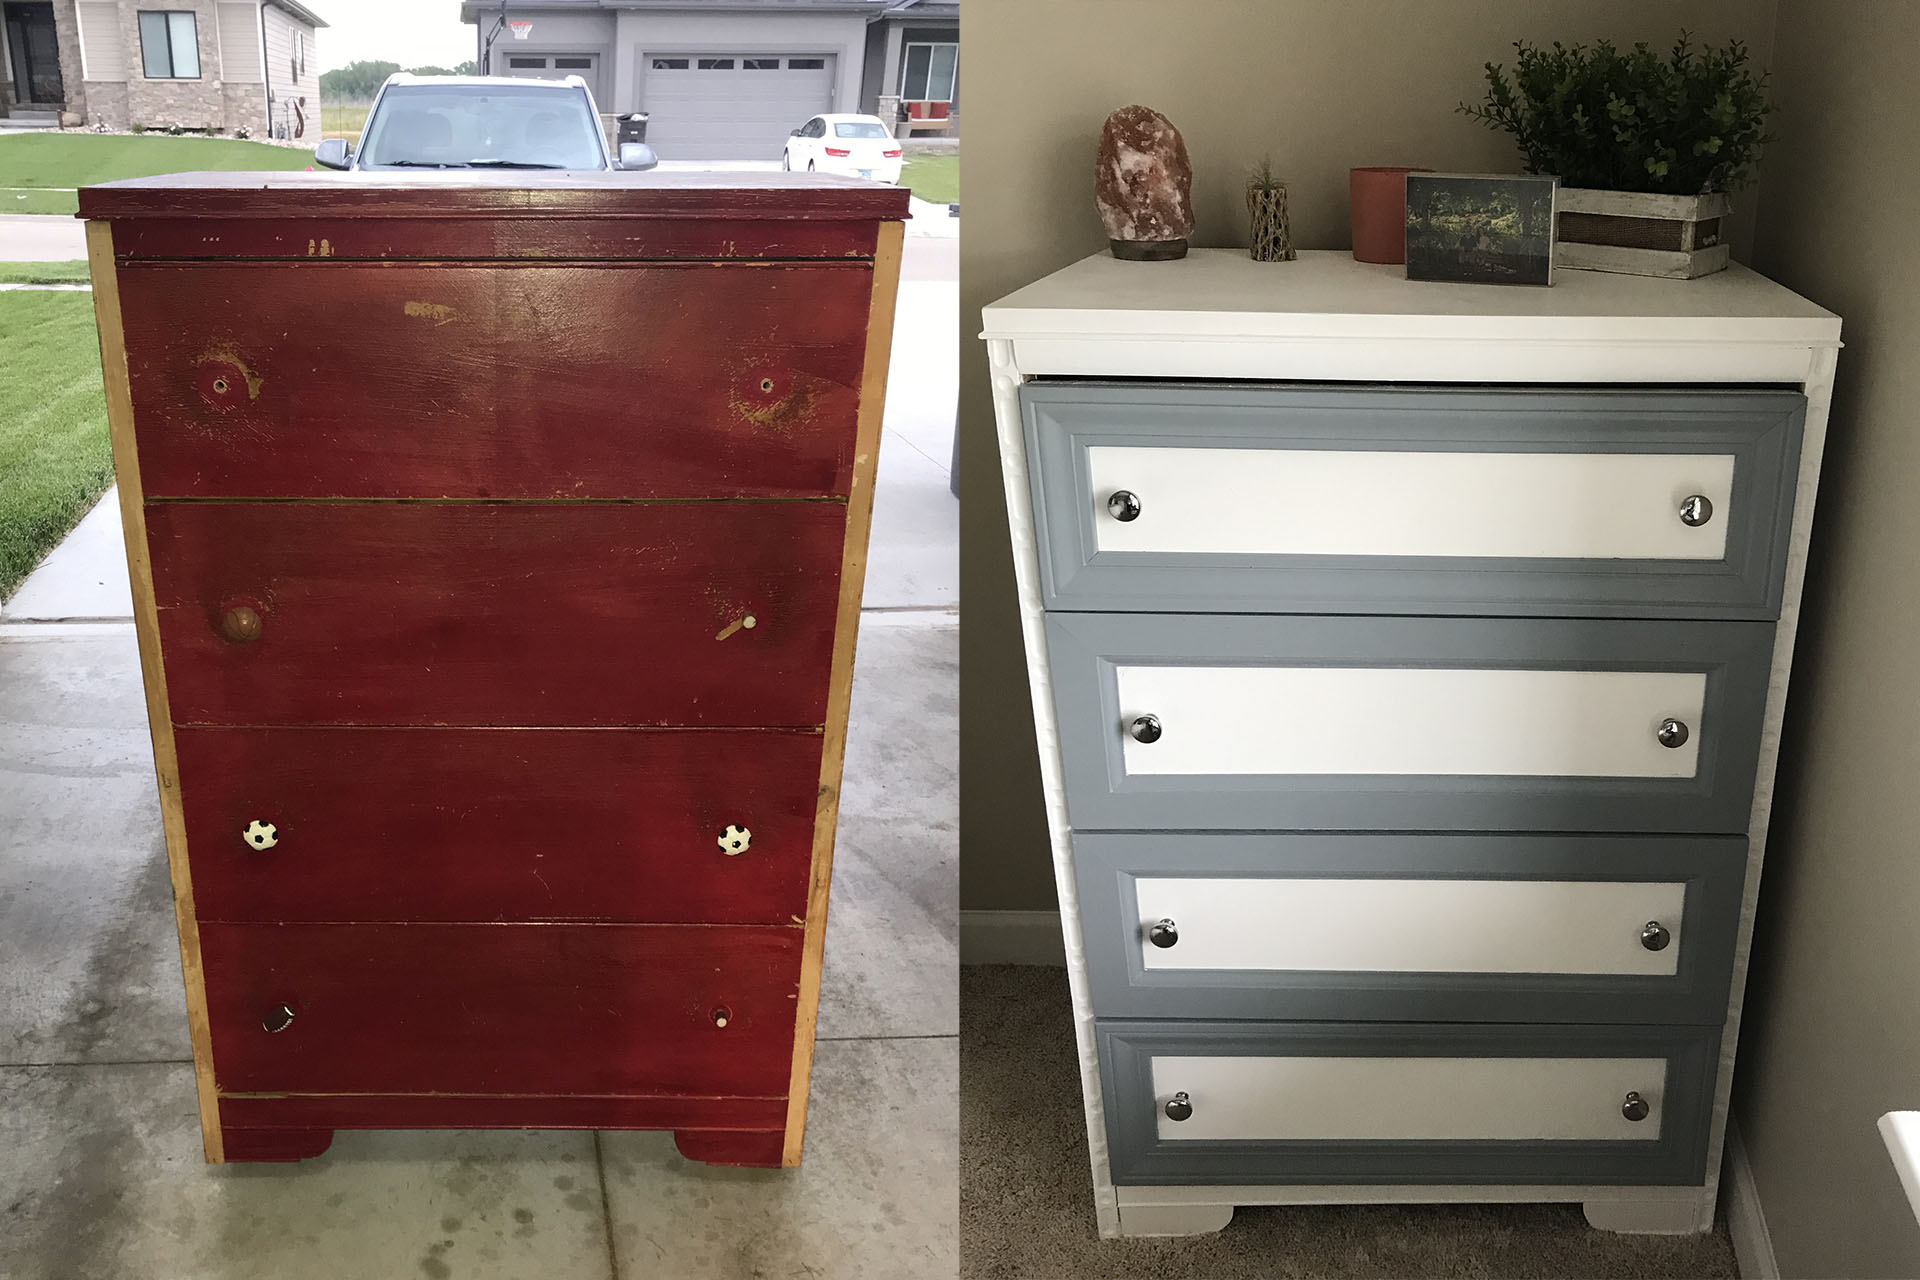
Whether you’re a first-time DIY-er, an old pro, or somewhere in between, dressers are great projects to take on. They’re simultaneously a great (and dangerous) place to start, and a fun project to tackle at any point.
When I say they’re dangerous… let’s just say, they’re like a gateway drug for DIY projects. In fact, most drawers and cabinetry can be that way. Once you watch a larger piece of furniture transform from curbside trash to a staple of your room, you’ll find yourself seeing things on the side of the road and thinking, “I could repurpose that!”*
*Pro tip: yeah, you probably could! But should you? Try to exercise some control when hauling off curbside furniture. Not everything is treasure.
**This is a lesson I am still learning myself. No judgement here.
So you’ve got an old dresser, chest of drawers, or similar cabinetry that needs a fresh look? Let’s get started.
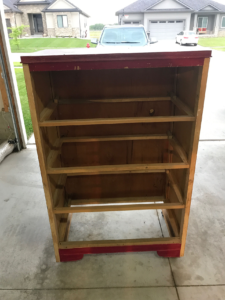
Here’s what we started with:
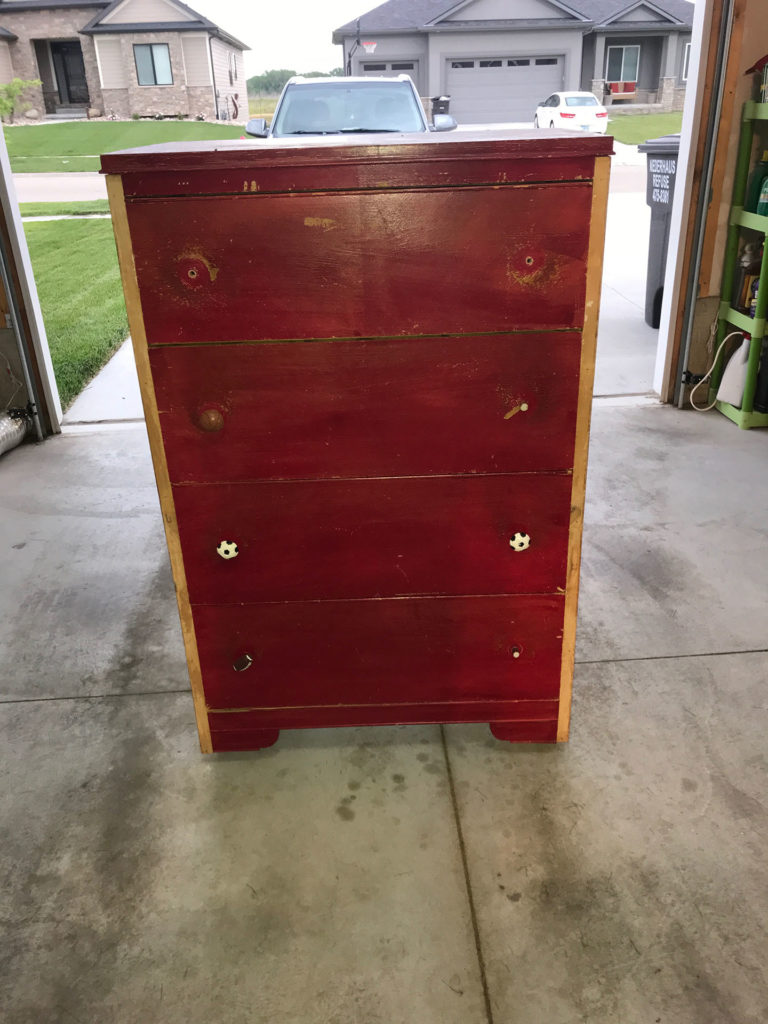
This children’s-room style dresser was far from beautiful when I picked it up from a neighbor who was moving out in a rush. It’s old, but not high-quality vintage. Sturdy, but not made entirely of natural wood. Overall, a good deal (free) and a good candidate for a project.
I walked it over to my mother’s garage and then transported it soon after to our workshop space. It had 3 of 4 castors, some broken handles, but all four drawers were intact and functional and there were no major cracks, splinters, or gaps in the wood.
Get Inspired
The first step in repurposing a piece of furniture is to start at the inspiration level.
Don’t
It’s important not to start any work on the piece before you’ve developed a plan because you could limit your options by getting ahead of yourself. Don’t sand, disassemble, or anything of the sort until you know where you’re going.
Do
Carefully inspect the piece and take note of its condition, structure, and quirks during this process. As you’re looking for inspiration and getting ideas, details about the piece’s condition may provide guidance on limitations you may face when updating it.
Example: If you’ve got a dresser that’s missing a drawer, unless you plan on building the additional drawer from scratch, you might want to look into ideas for repurposing empty space in a dresser (Like this portable bar dresser).
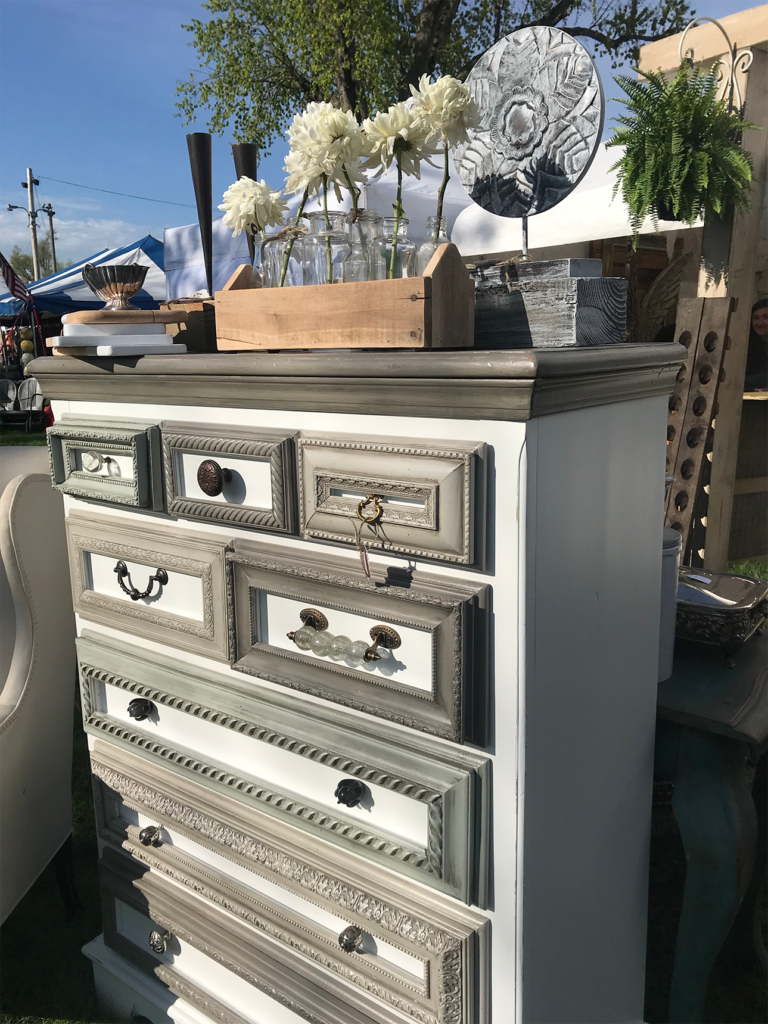
When it comes to this dresser project, I had been inspired by this modern/whimsical/farmhouse combination look that I saw at a local craft show:
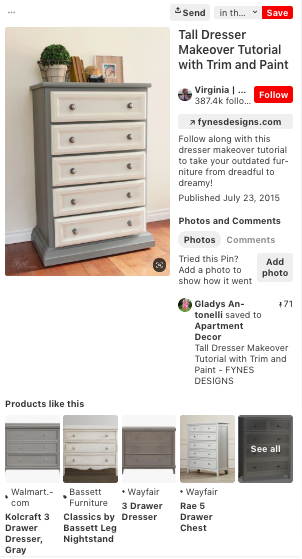
Retreating to Pinterest, of course, I discovered these other examples of white-grey dressers and dressers with mix-matched trim and decided that was the look that would be my inspiration when moving forward.
Game Plan
When you’ve got a solid idea, start making your plan.
Some things to consider:
- What steps will you need to take to reach your desired style?
- Where do you plan to use the piece? (Or will you be selling it?)
- What is your timeline for completing the project?
In my case, the red absolutely had to go—as did the sports-themed drawer knobs and mismatched castor wheels—so the first step would need to be some disassembly and then sanding. I wanted the dresser for my bedroom when moving into my new apartment, so there was a deadline on the table as well.
From there, Josh and I were able to determine some steps in the process, a list of supplies needed, and get started.
Break it Down
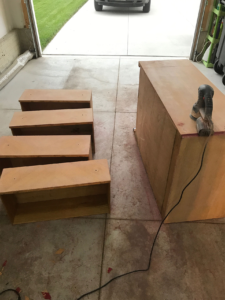
Depending on your piece and end goal, the amount of work in this area may vary. In our case, all hardware was removed and the whole dresser was then sanded down to remove all traces of the red paint.
Build it Up
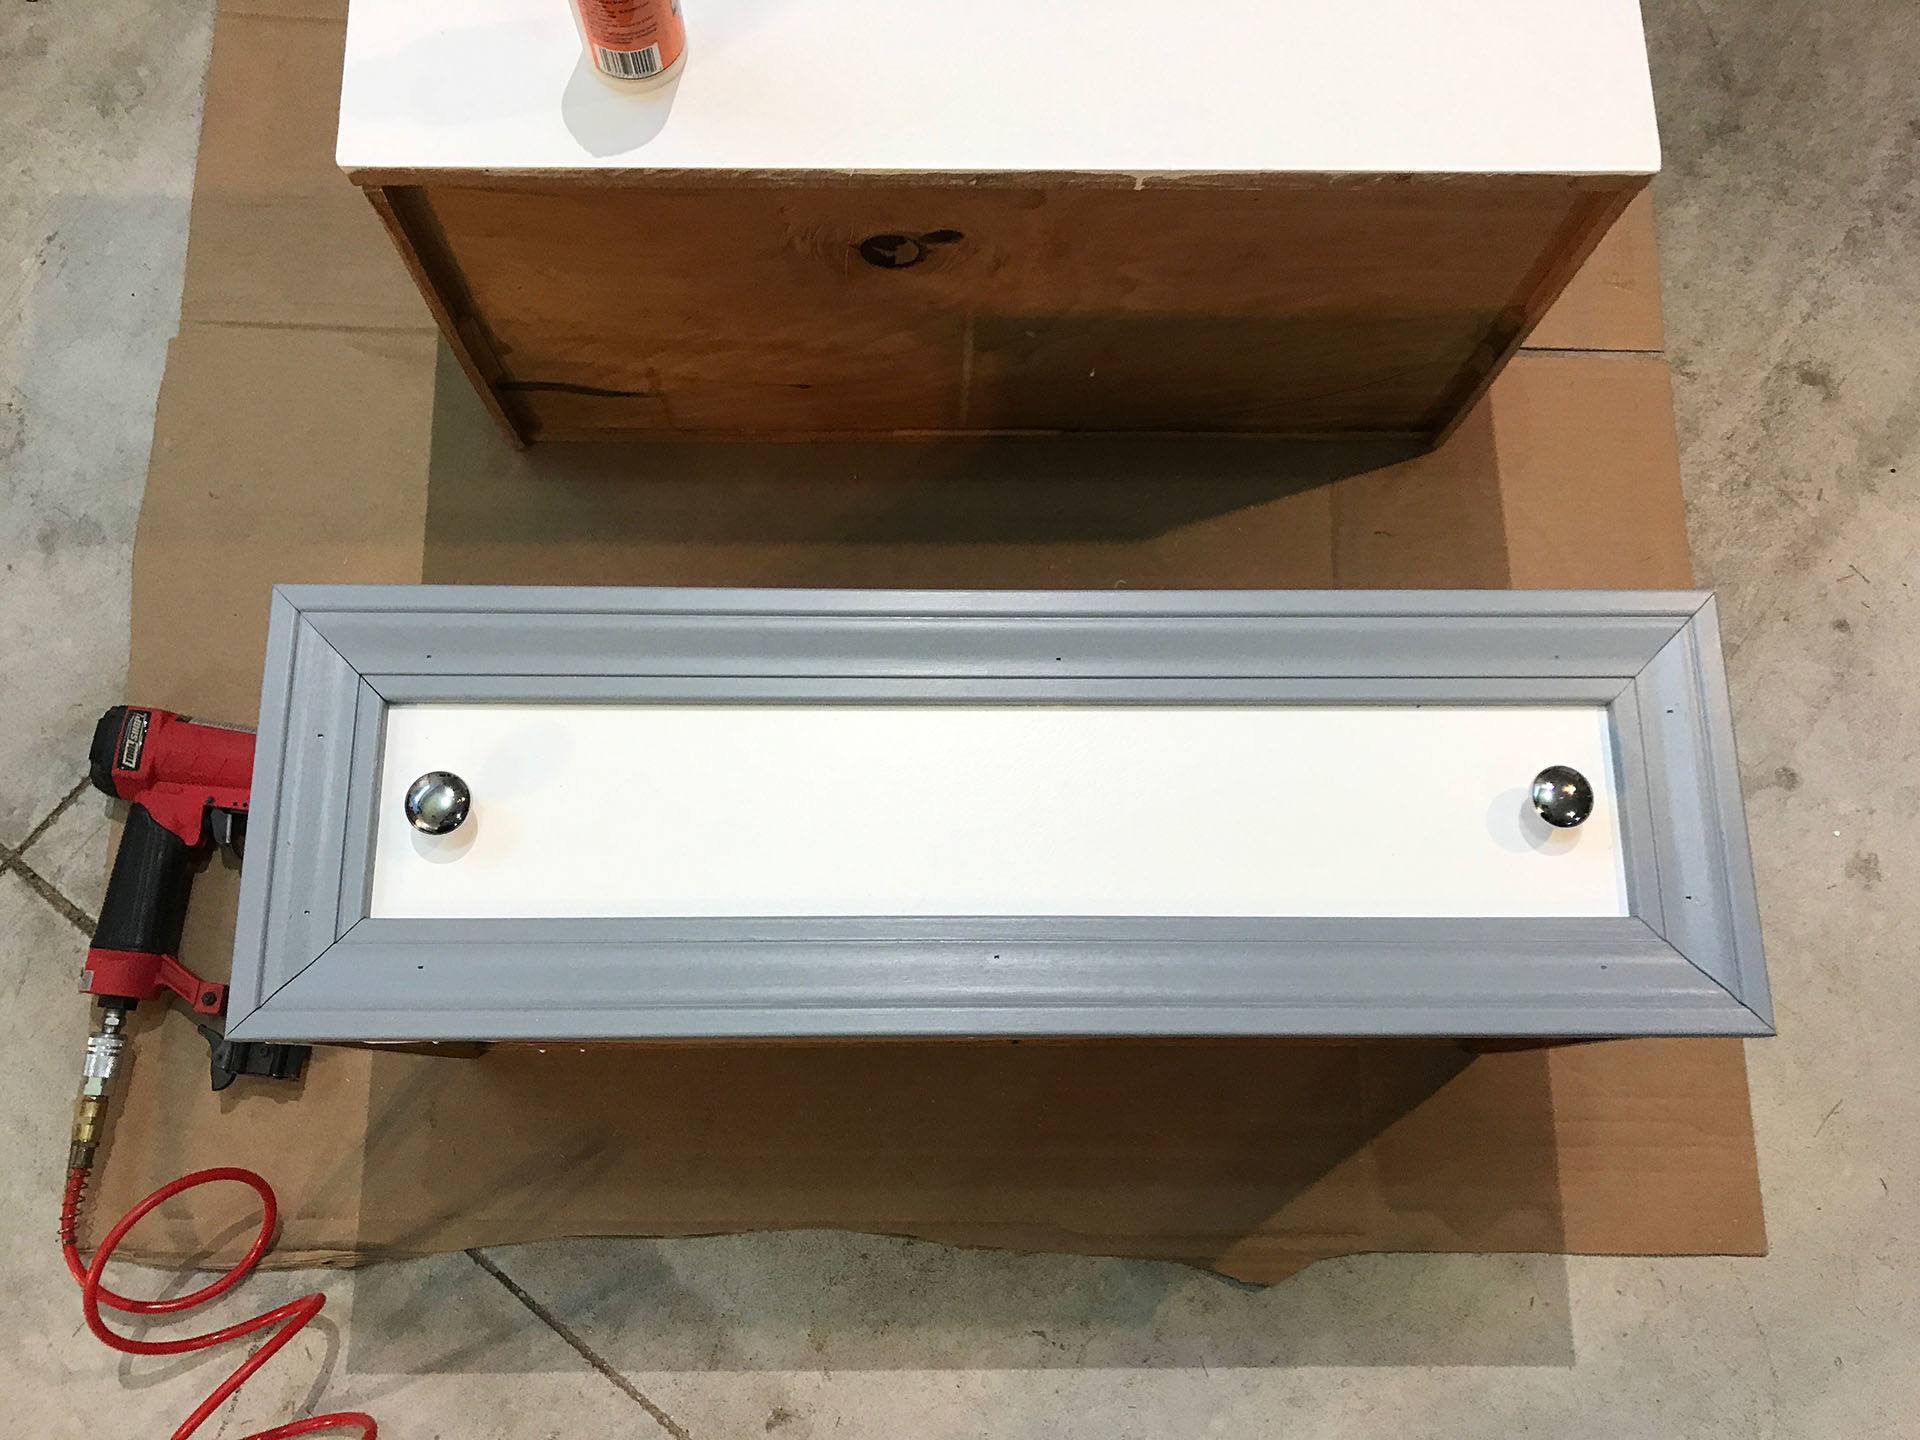
Next step: start working toward your look! In this stage, we applied four coats of white paint over the visible surfaces of the dresser. We also put the dresser up on a fresh set of castors. When the painting stage was complete, we added some basic silver knobs to each of the drawers (free because my mom had them on-hand—thanks mom!)
Spruce it Up
The white dresser was already looking so great, but the finishing touches are what made it the unique piece that it is today.
Due to an unfortunate turn of events, we were unable to find any spare trim around town that was intricate or ornate, so we opted for a visit to the hardware store and picked some simple but classy trim options instead.
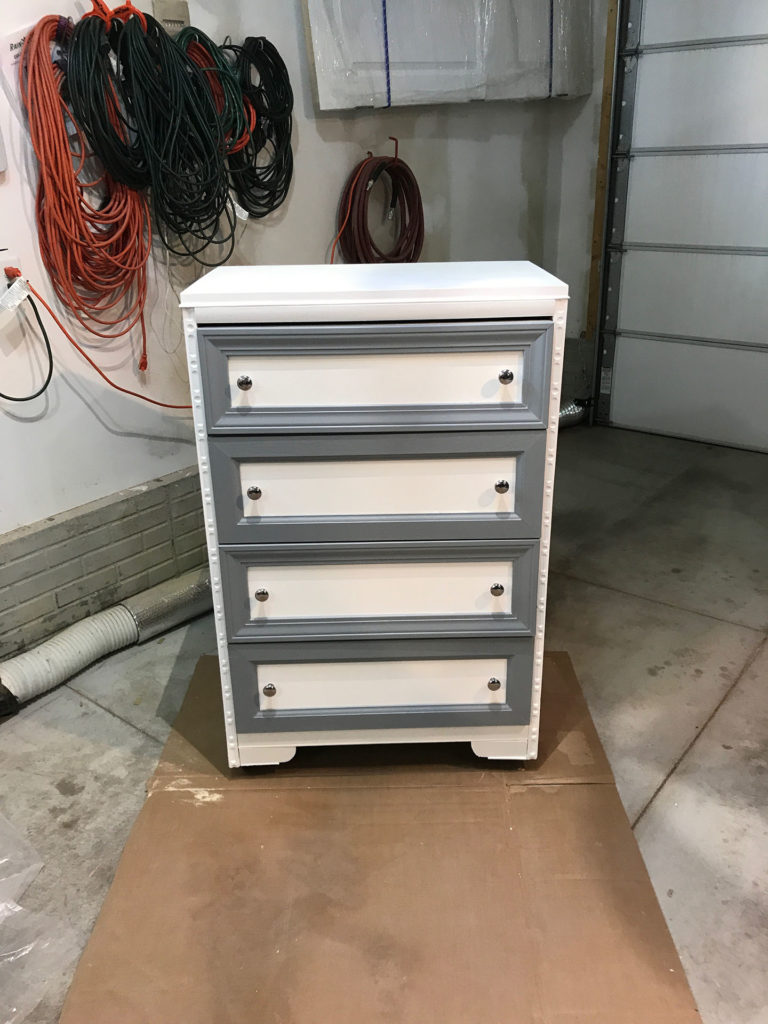
We cut and painted the trim pieces in Behr’s Moonquake Grey for quality and durability. Then, we attached them to the faces of the drawers.
Finished Product
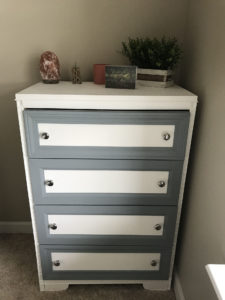
While it’s not the picture-perfect piece I saw at Junkstock, it’s special to call it mine and my own work.
Are you thinking of taking on an upcycling project? Tag us in your progress photos! We’d love to see them ?
@jcbcreative @atirashea @jbar402
Related Articles
…because 2020
This has been the year of taking our own portraits with cameras precariously perched on wooden posts, the drone in photo mode, whatever it takes... Though events and standard photoshoots were nearly all cancelled, we still had plenty of chances to get the cameras...
JCB CREATIVE
We are a creative services provider based in Lincoln, NE, specializing in photography, videography, live event production services, and design. Whether you need a wedding film, senior photos, or event live streaming, we've got your back. Contact us to learn more.
